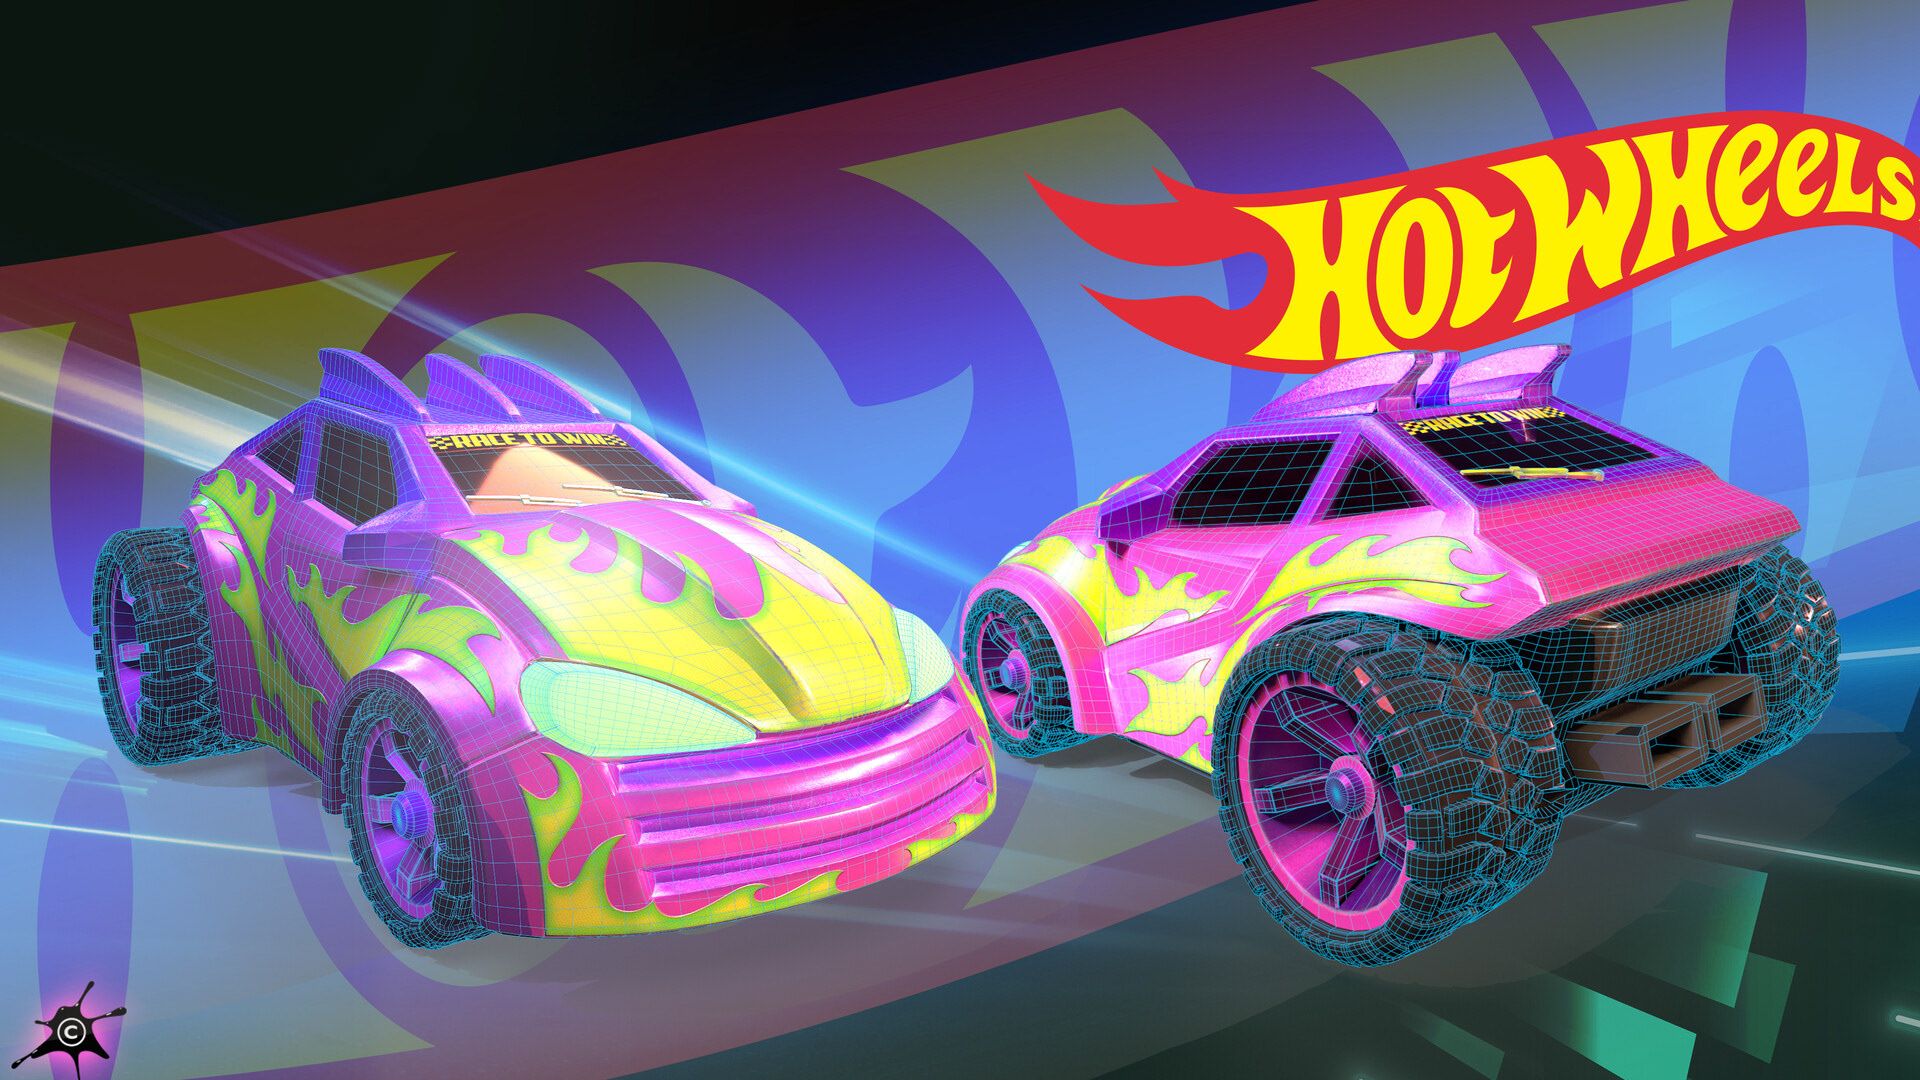
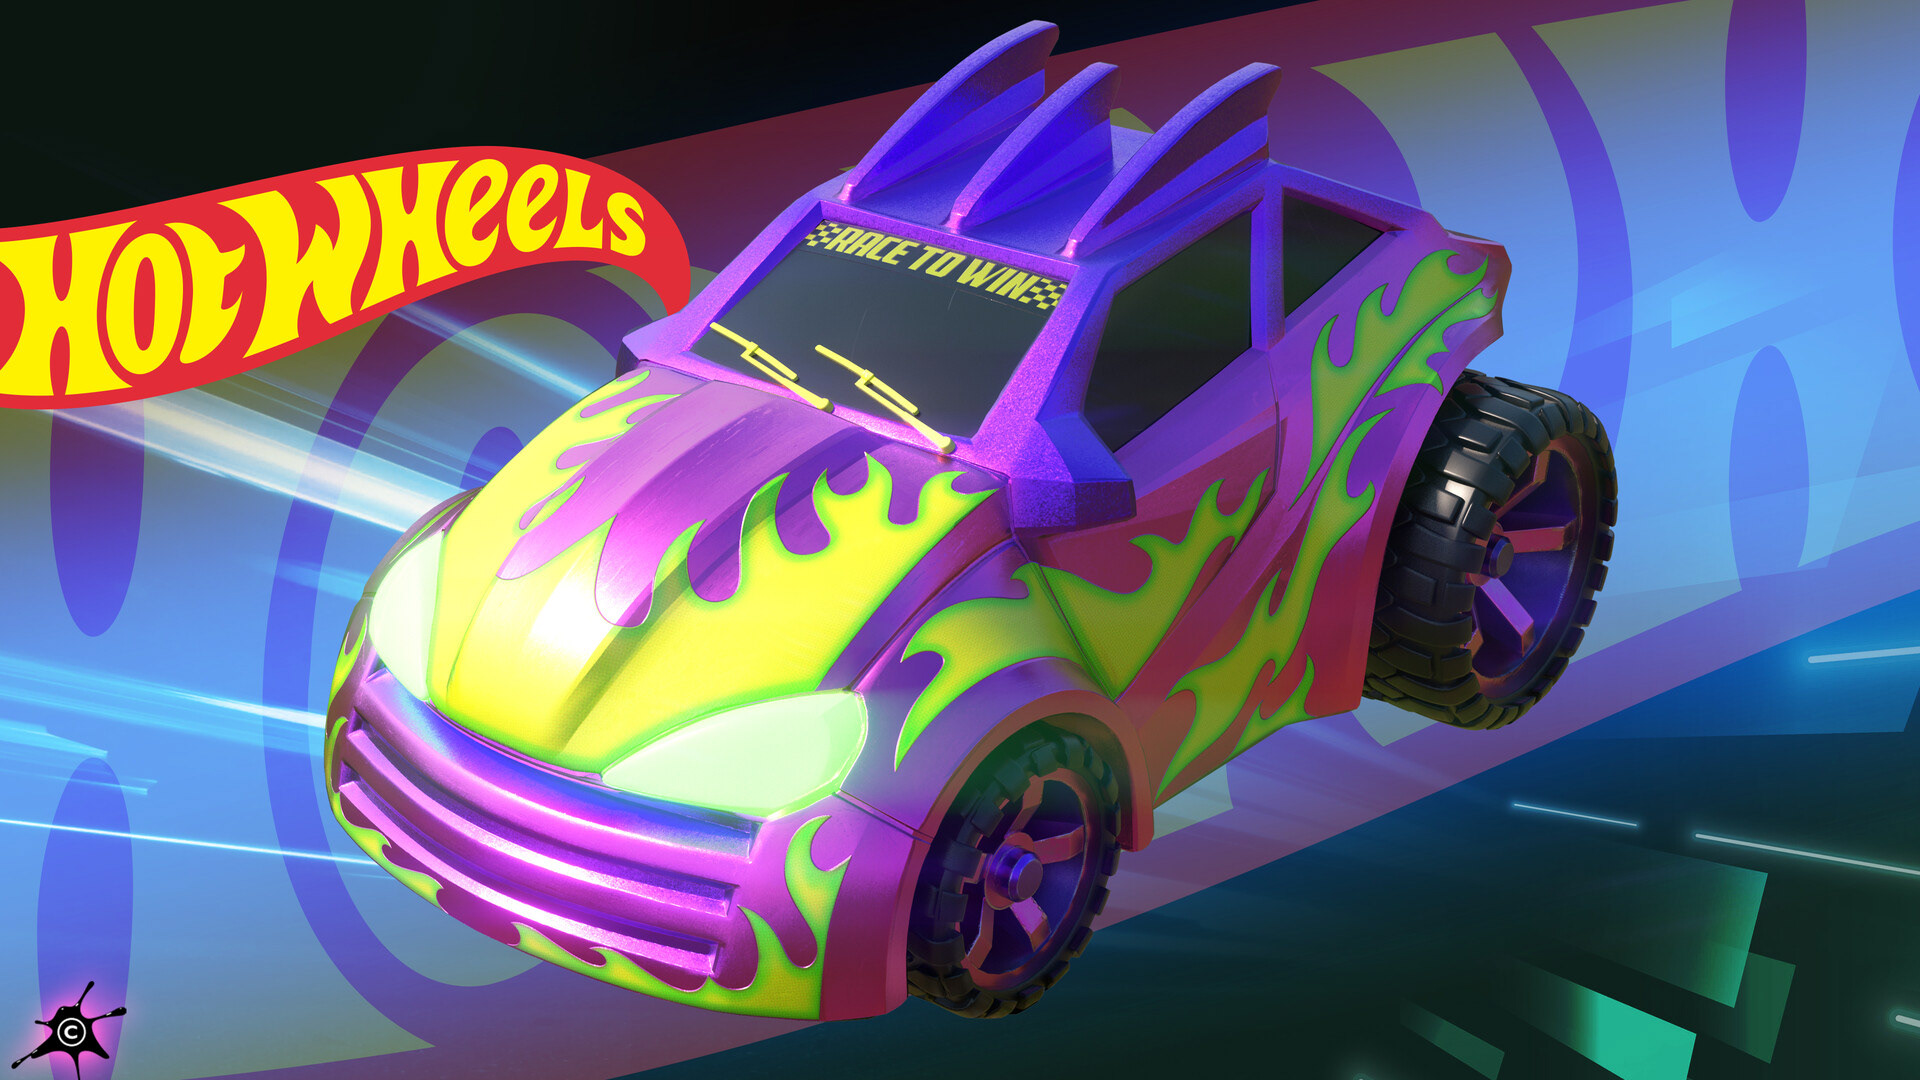
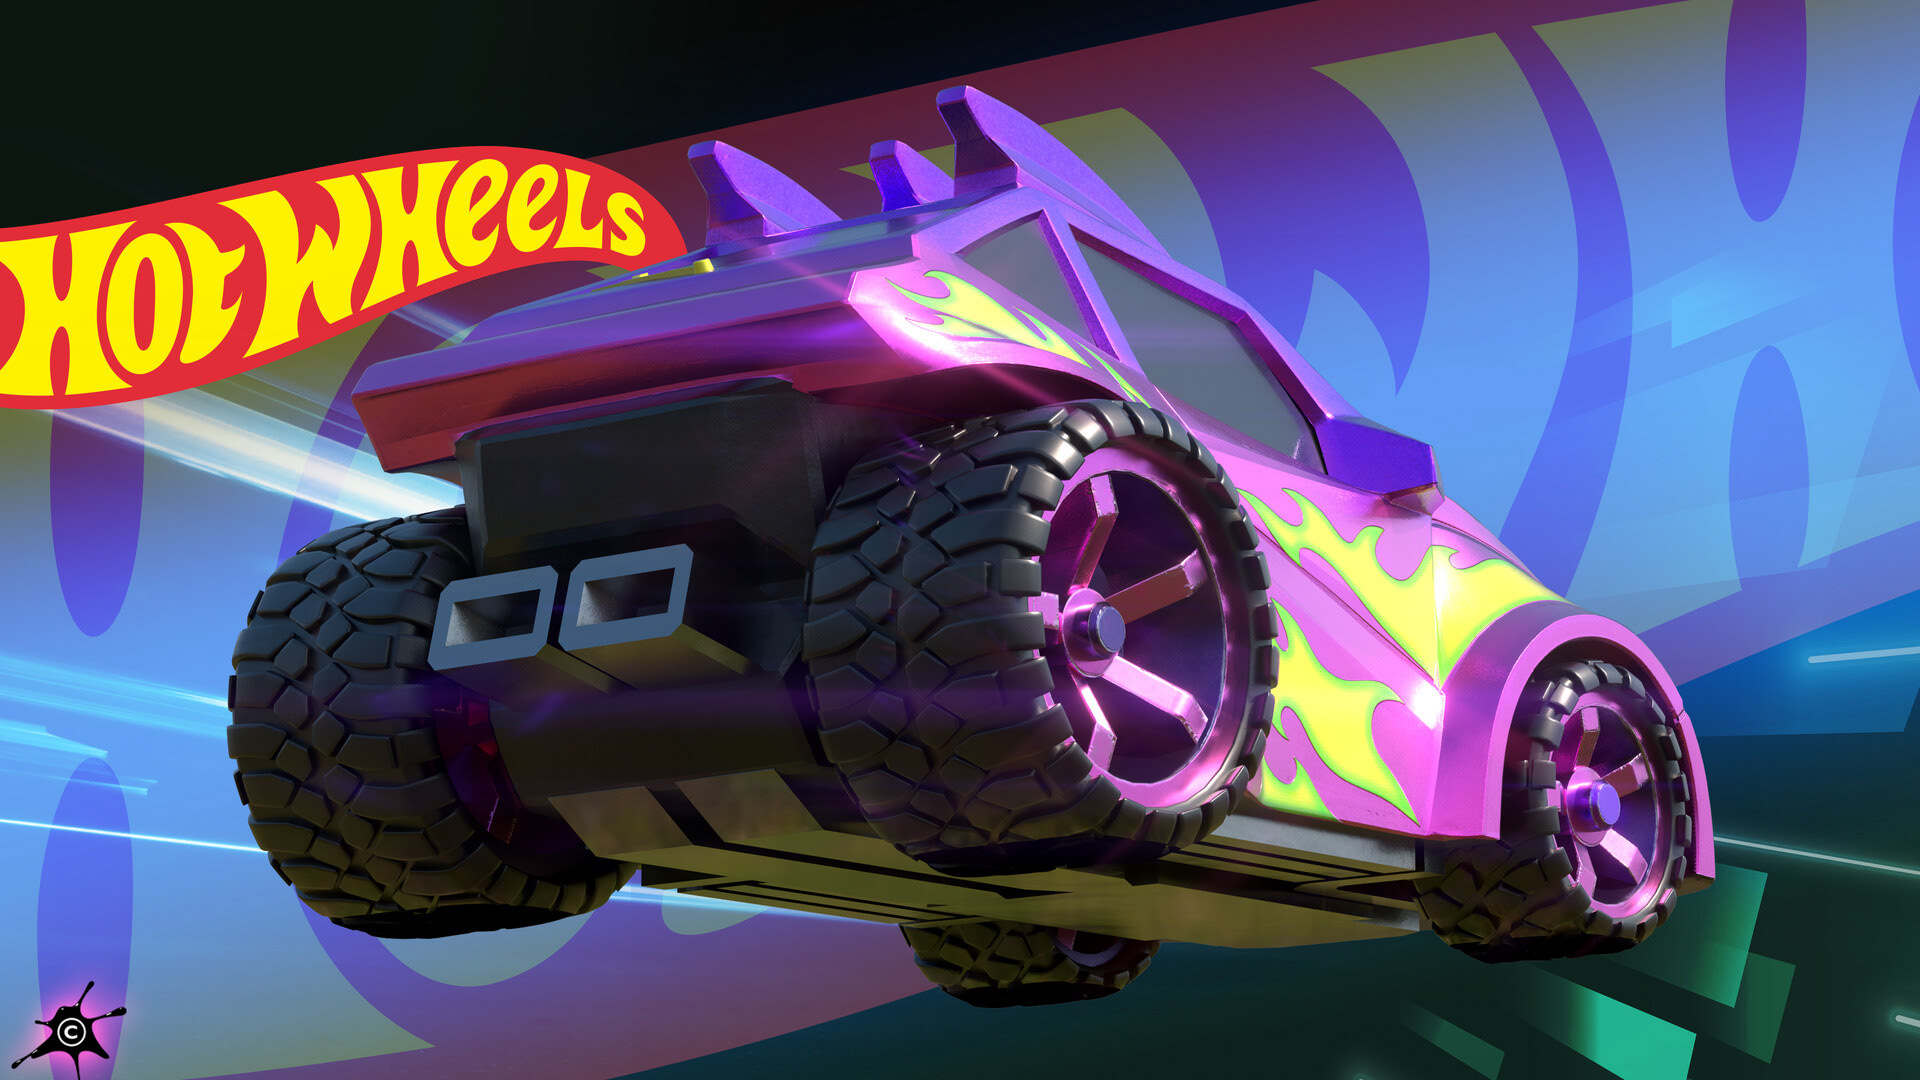
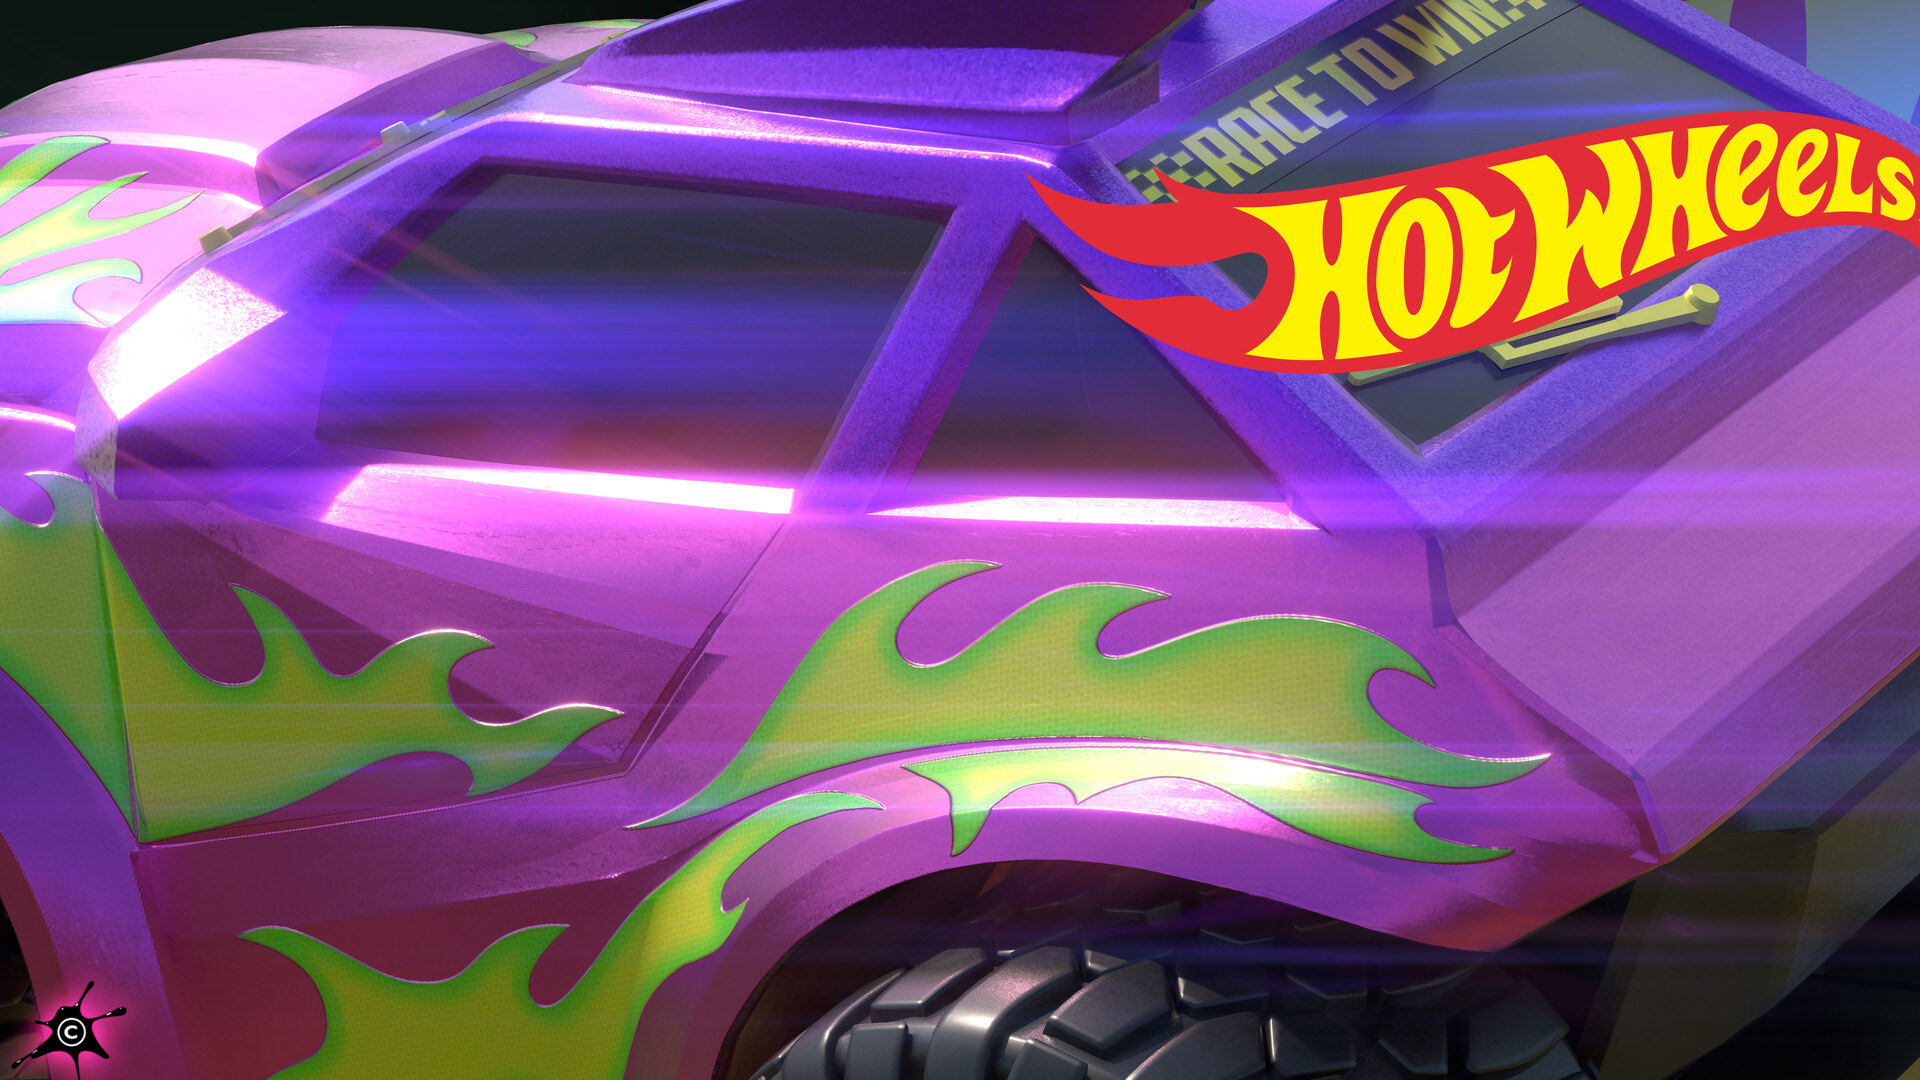
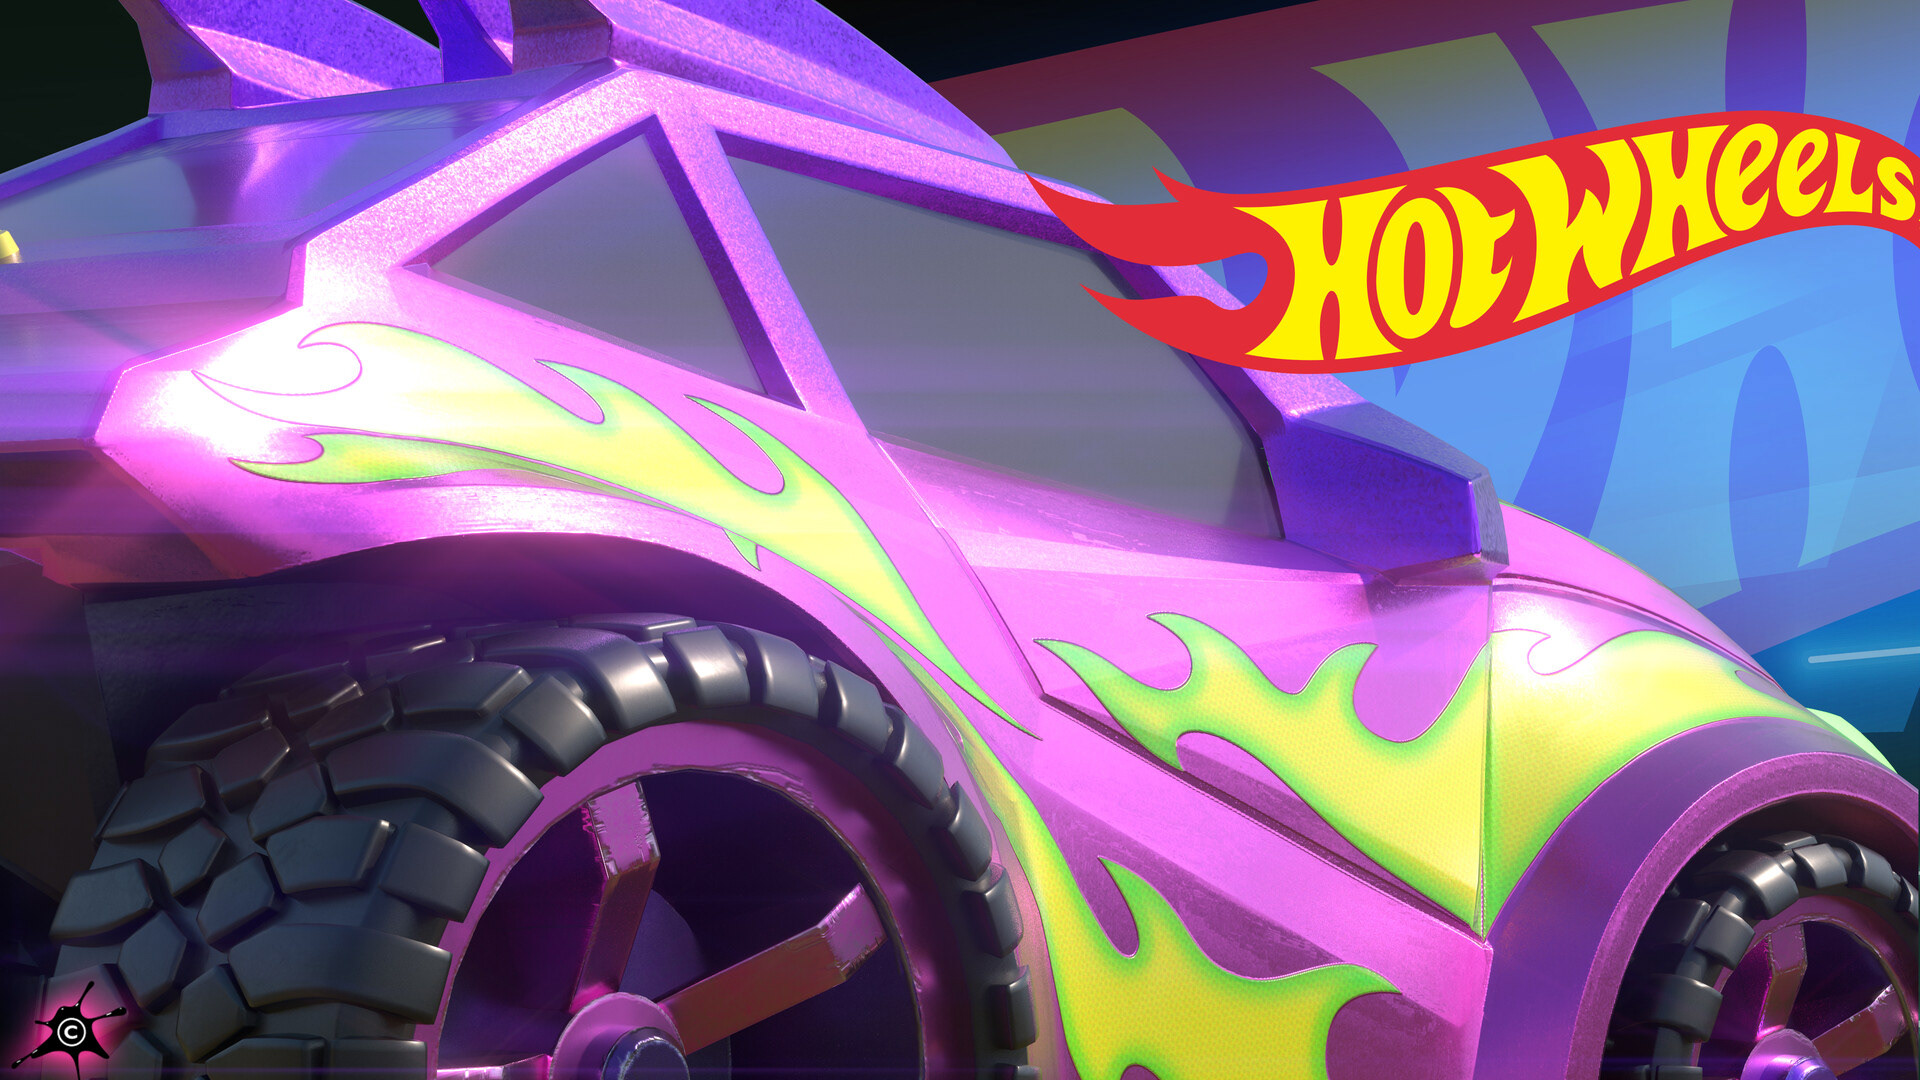
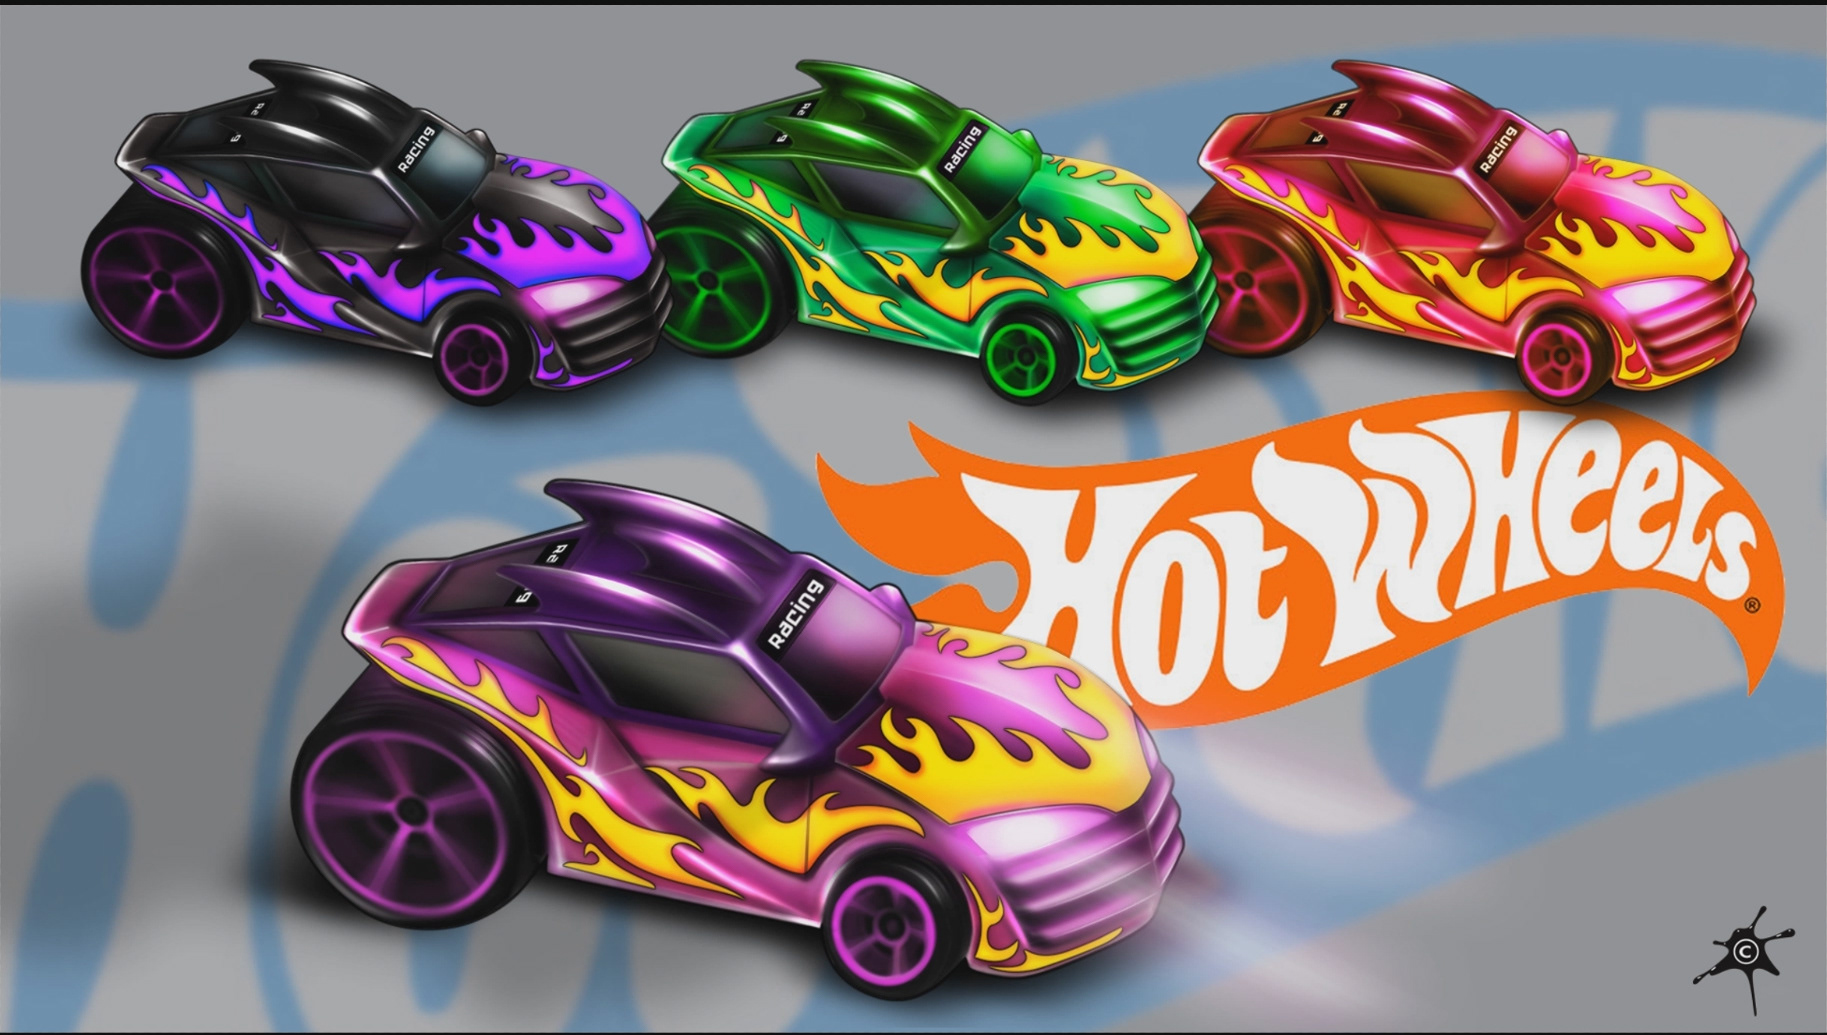
![](https://cdn.myportfolio.com/7e8993e9-0761-42b0-bb9c-91661238568a/97dd58b4-bcf0-4d62-997e-9f5bf135898c_rw_1920.jpg?h=0241fb5f4d564bde2bdb746cbc24aa96)
![](https://cdn.myportfolio.com/7e8993e9-0761-42b0-bb9c-91661238568a/0633adee-6e66-4eae-af82-8d9766d6f3bd_rw_1920.jpg?h=403373bca78d2f2e4c382ad0832b61a4)
![](https://cdn.myportfolio.com/7e8993e9-0761-42b0-bb9c-91661238568a/59906c25-bf23-437e-8c9f-0c2eef38cf6b_rw_1920.jpg?h=5287f3695a7705d355914e43f984ae4b)
![](https://cdn.myportfolio.com/7e8993e9-0761-42b0-bb9c-91661238568a/2d5bc2f2-fc54-4b40-ab8f-0b908fe256f3_rw_1920.jpg?h=4b67ff2383ce0fa97c3d9d98141f3d17)
![](https://cdn.myportfolio.com/7e8993e9-0761-42b0-bb9c-91661238568a/9fa927aa-bcd1-4f73-9b2a-dd33b6c46658_rw_1920.jpg?h=7851a71093d4b87fdbfb8e14c8bd6e2d)
![](https://cdn.myportfolio.com/7e8993e9-0761-42b0-bb9c-91661238568a/ba5c67fe-a251-4271-b6e9-117167ef3657_rw_1920.jpg?h=121e4444c9f9a9ce39c949a181baf266)
![](https://cdn.myportfolio.com/7e8993e9-0761-42b0-bb9c-91661238568a/4fec07f9-1f38-4444-99dd-6ba7a497f873_rw_1920.jpg?h=07ea4c9098524c2e1672d37fe8419782)
![](https://cdn.myportfolio.com/7e8993e9-0761-42b0-bb9c-91661238568a/0329341e-ee6c-4e4d-9907-22e494d72544_rw_1200.png?h=d7634411a489bbcf528bb6a2b92be61e)
Here is a low poly car I sculpted after my own concept art I designed like you can see at the bottom of this page. I made a model sheet inspired by my concept art directly in Adobe Photoshop, and then I used it in ZBrush as a base for the sculpting, then I checked the retopology and the UV's, and I prepared all the materials in Autodesk Maya before I exported the mesh to Substance 3D Pt and then I Baked the input map and textured it. The point here was to approach through a tutorial I created for school the Bitmap mask technics and to be working using Adobe Photoshop combined with Pt, and some good ZBrush technics and workflow organisation as well.