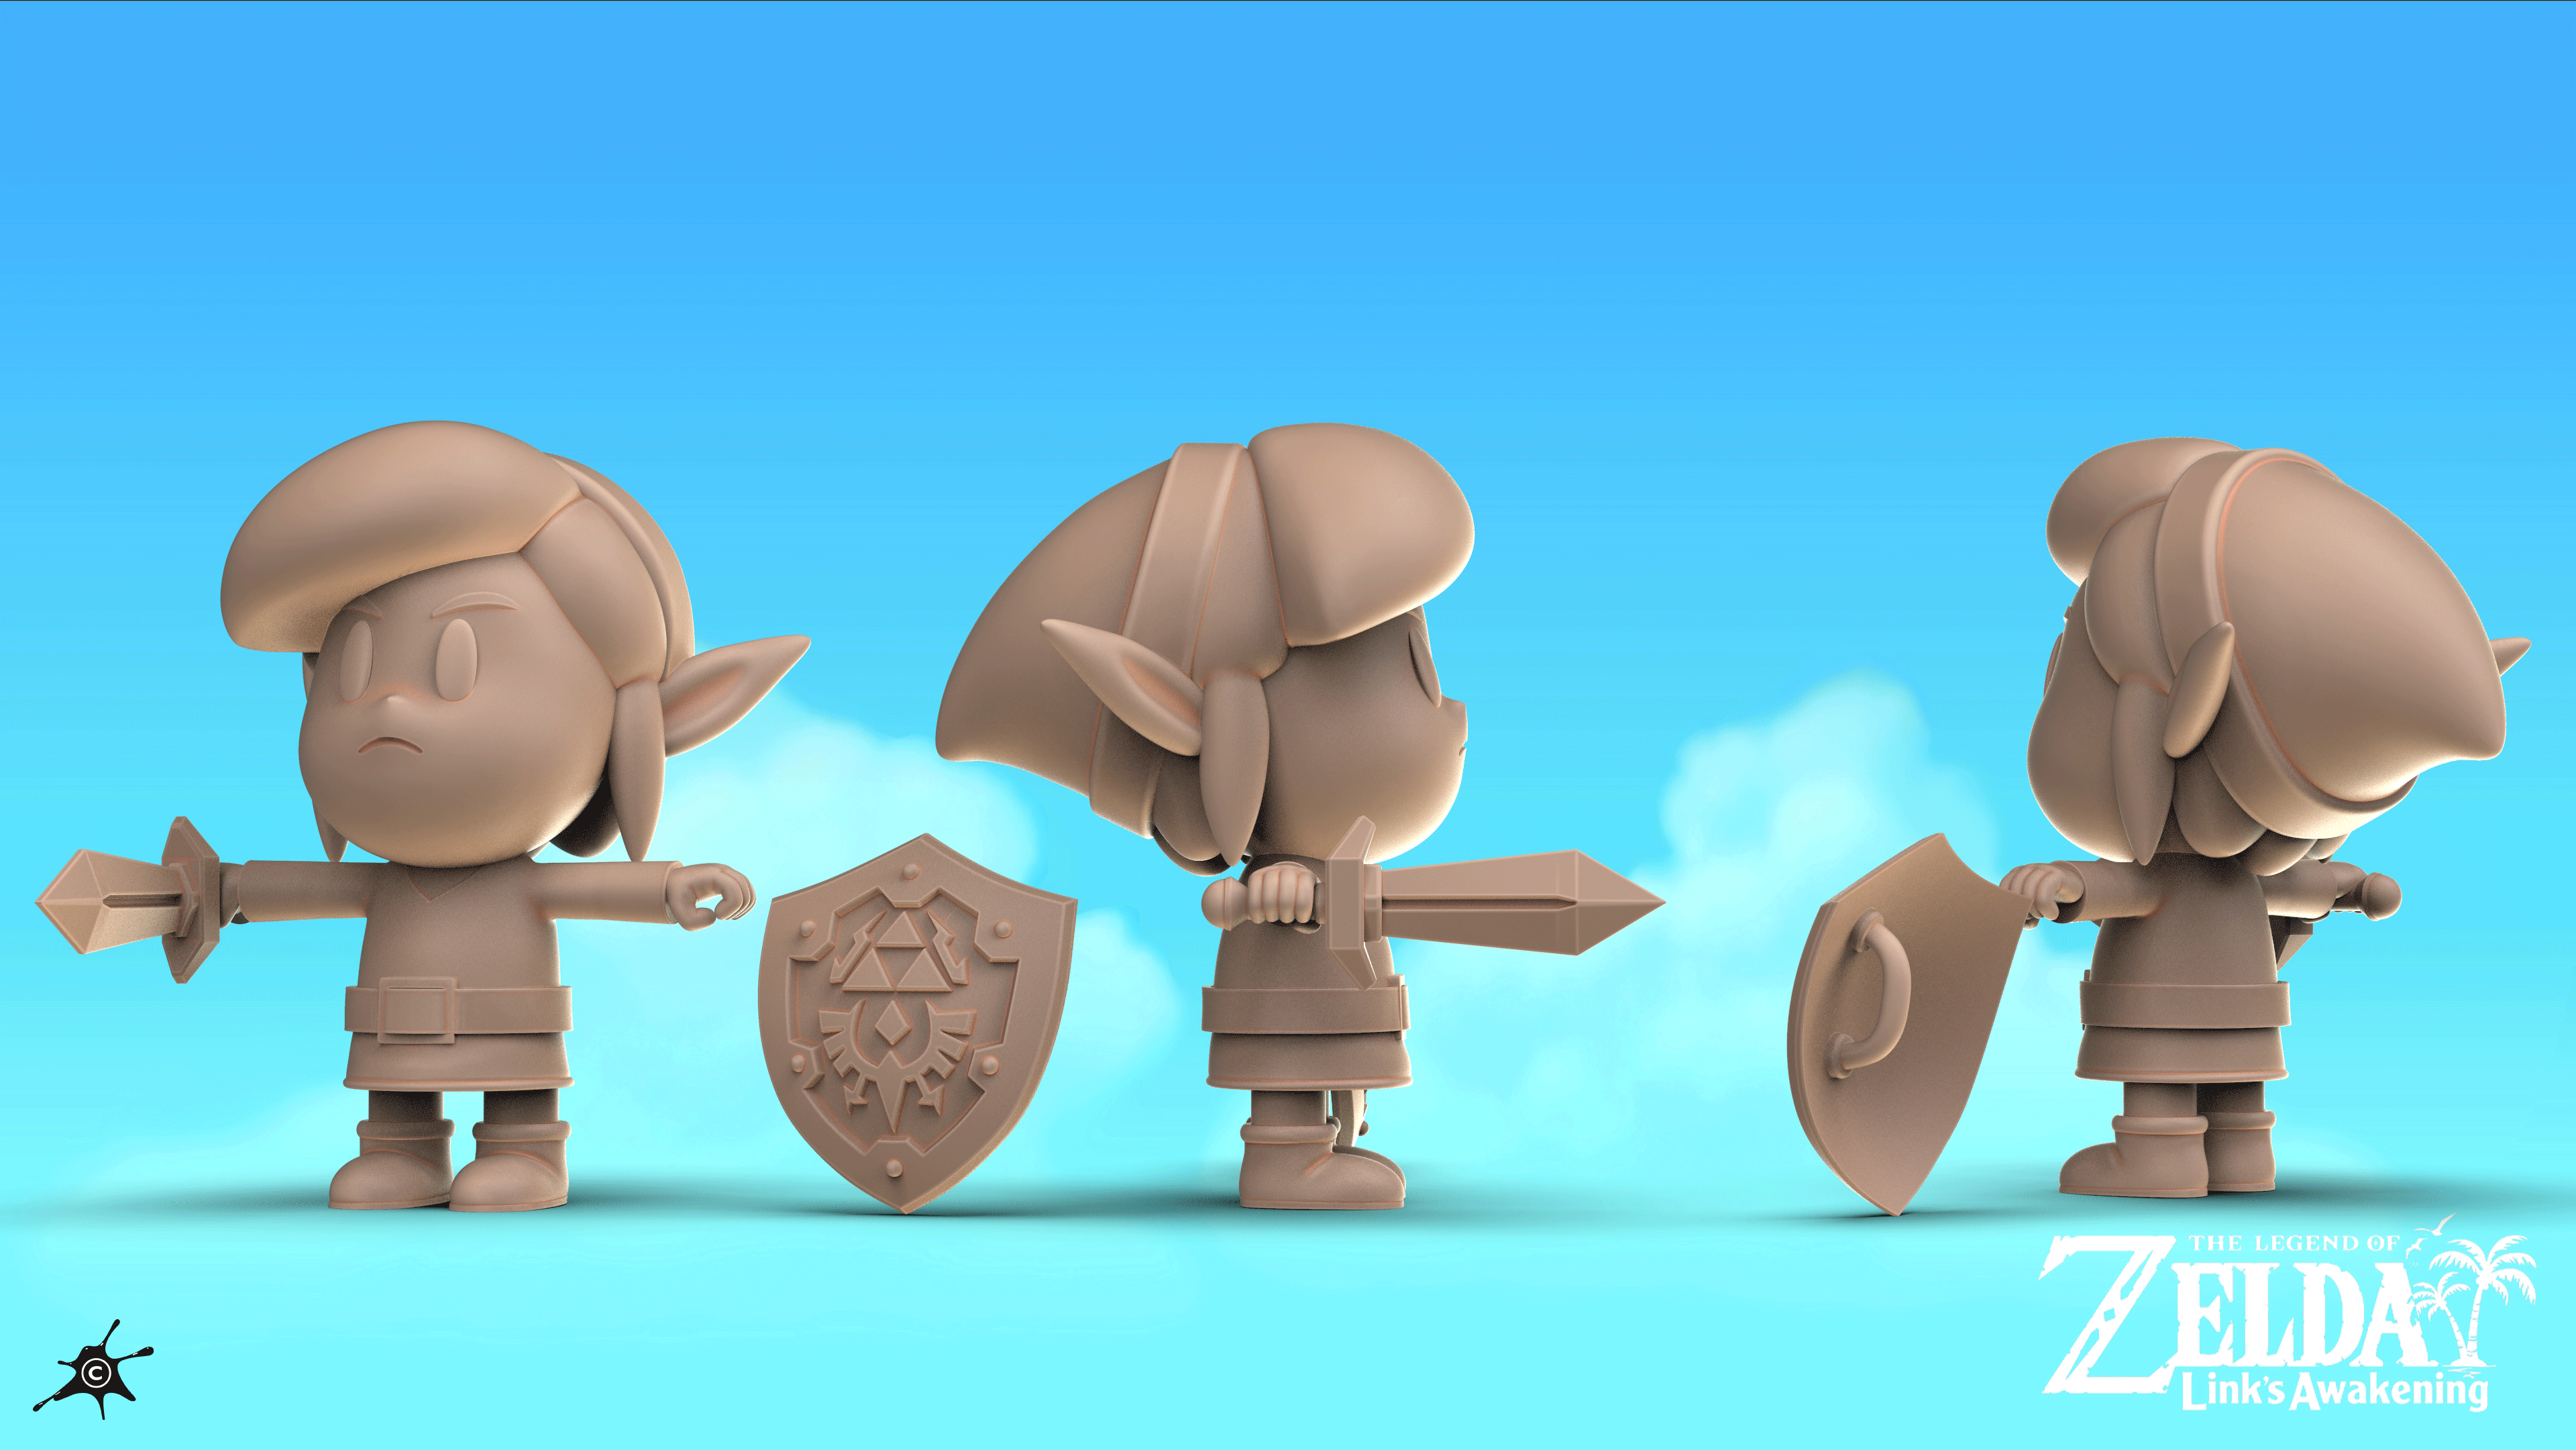
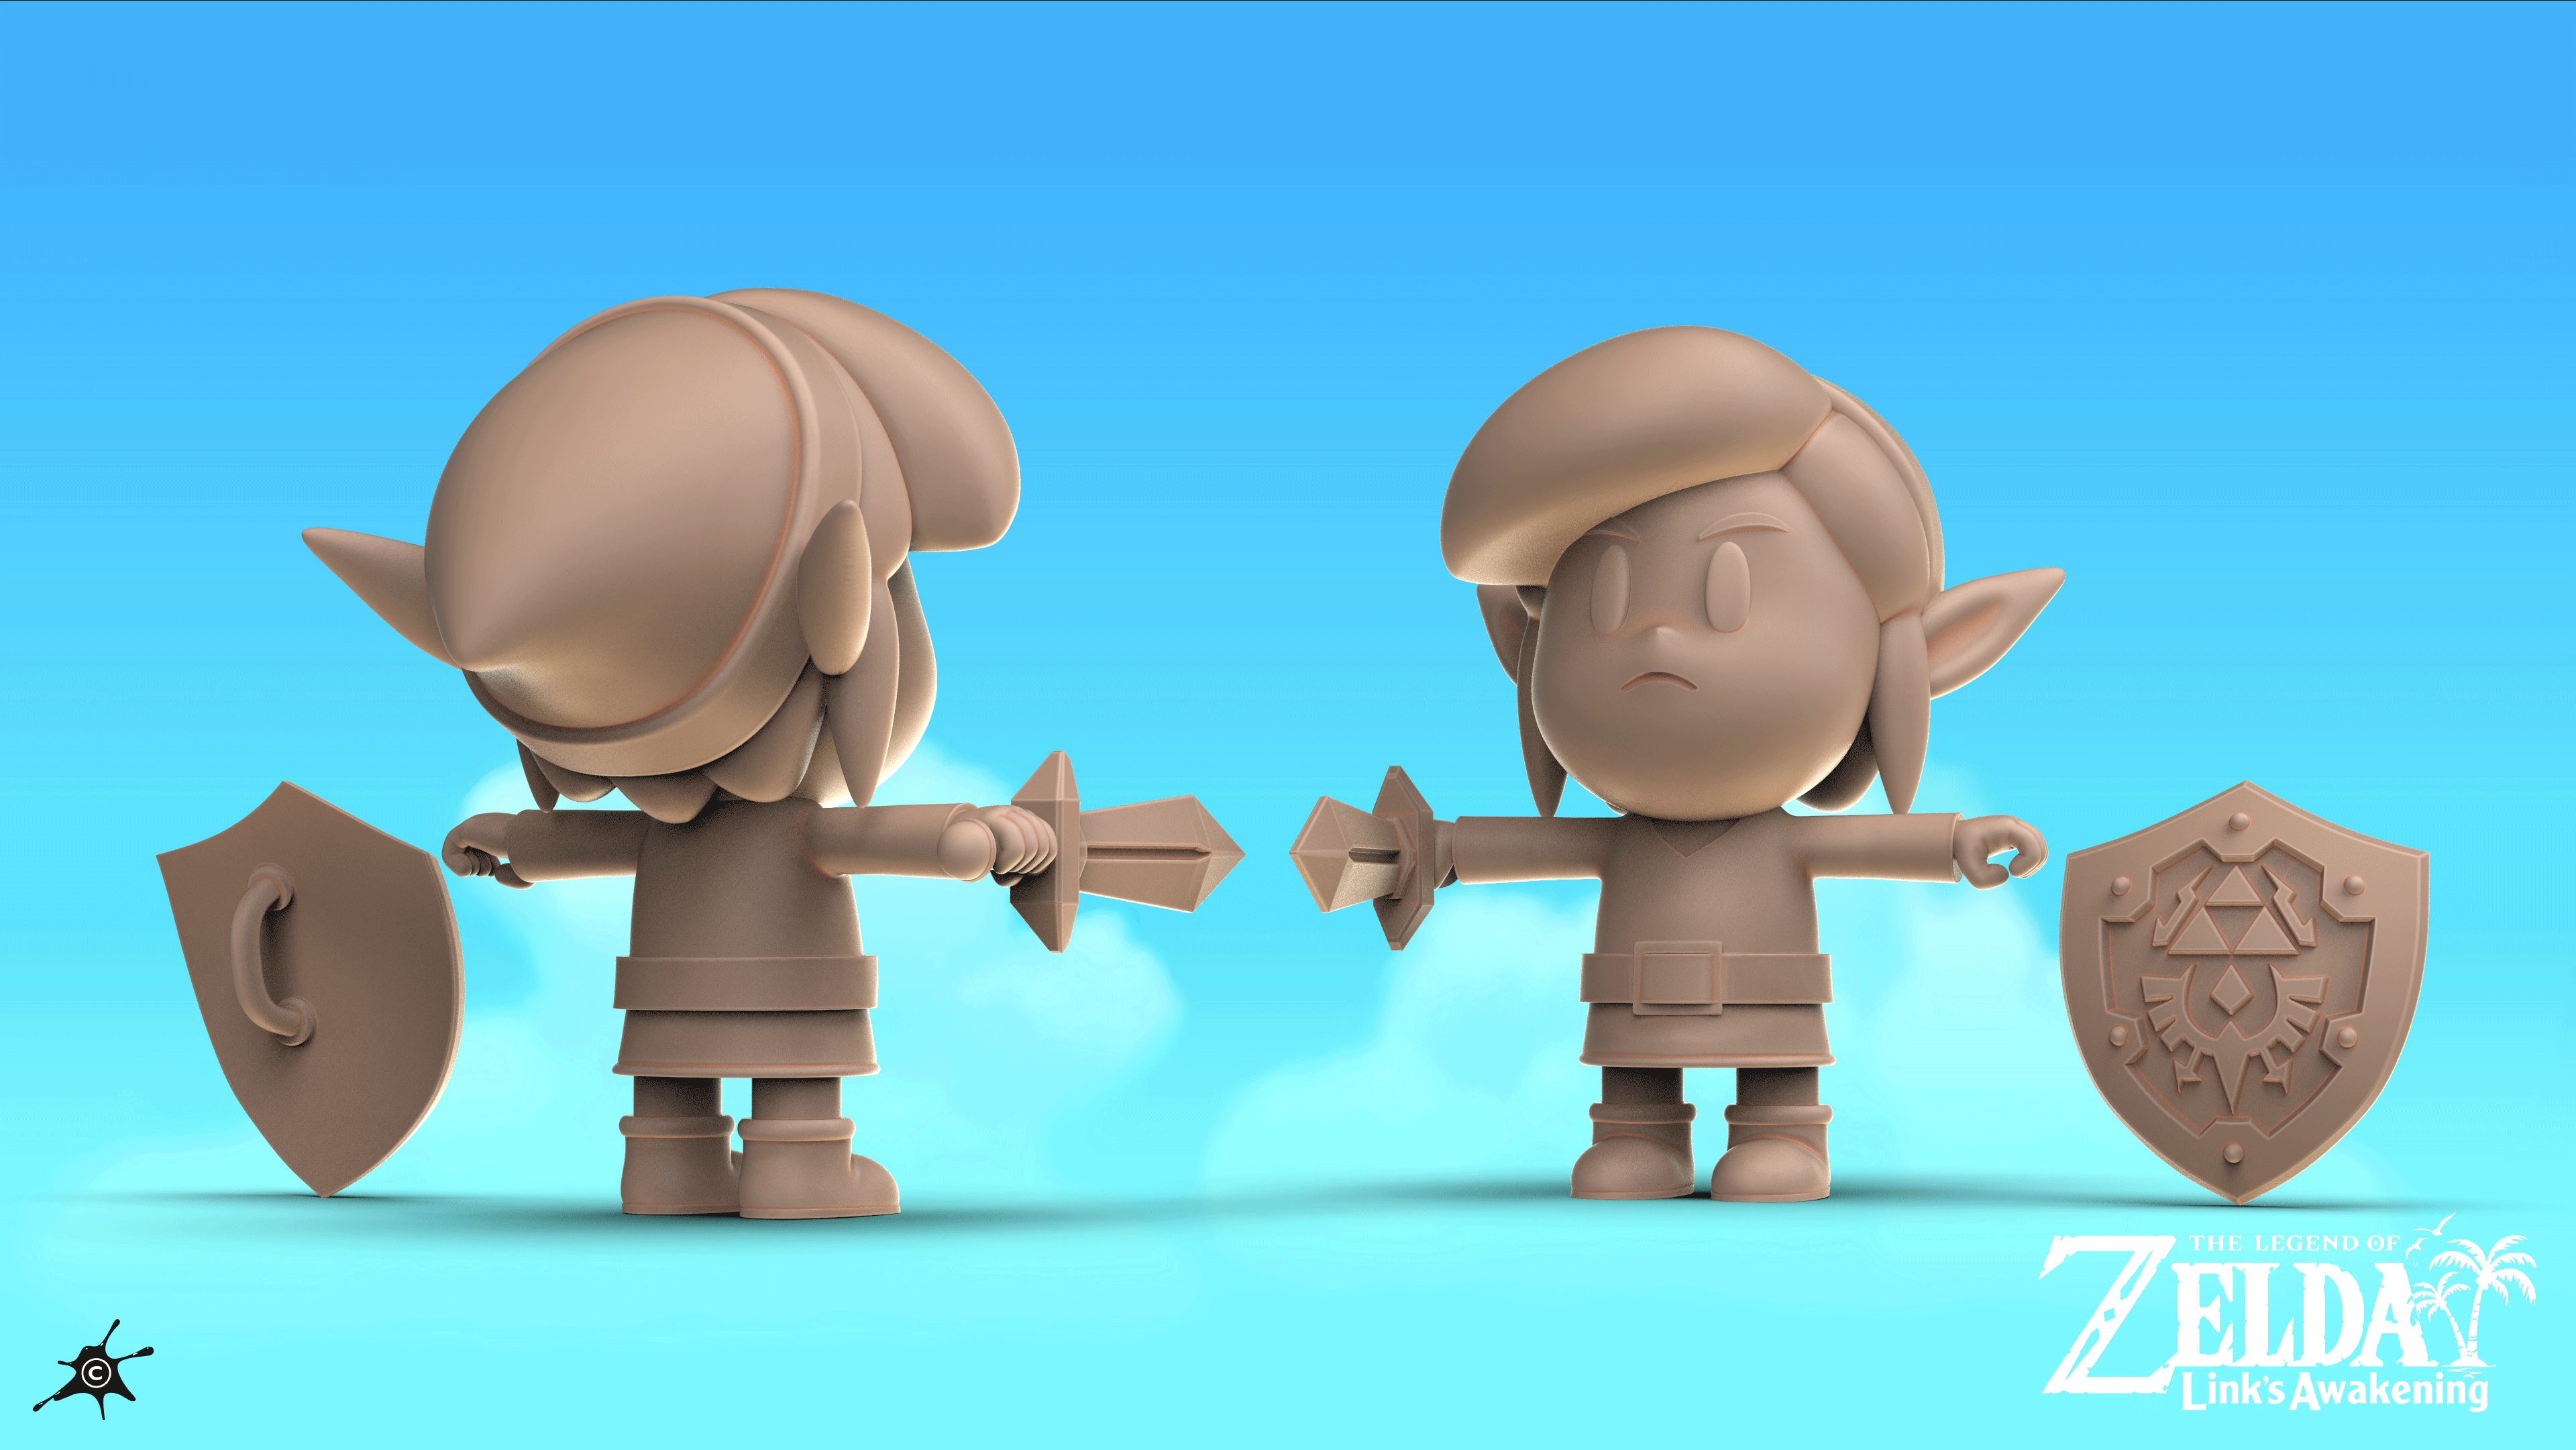
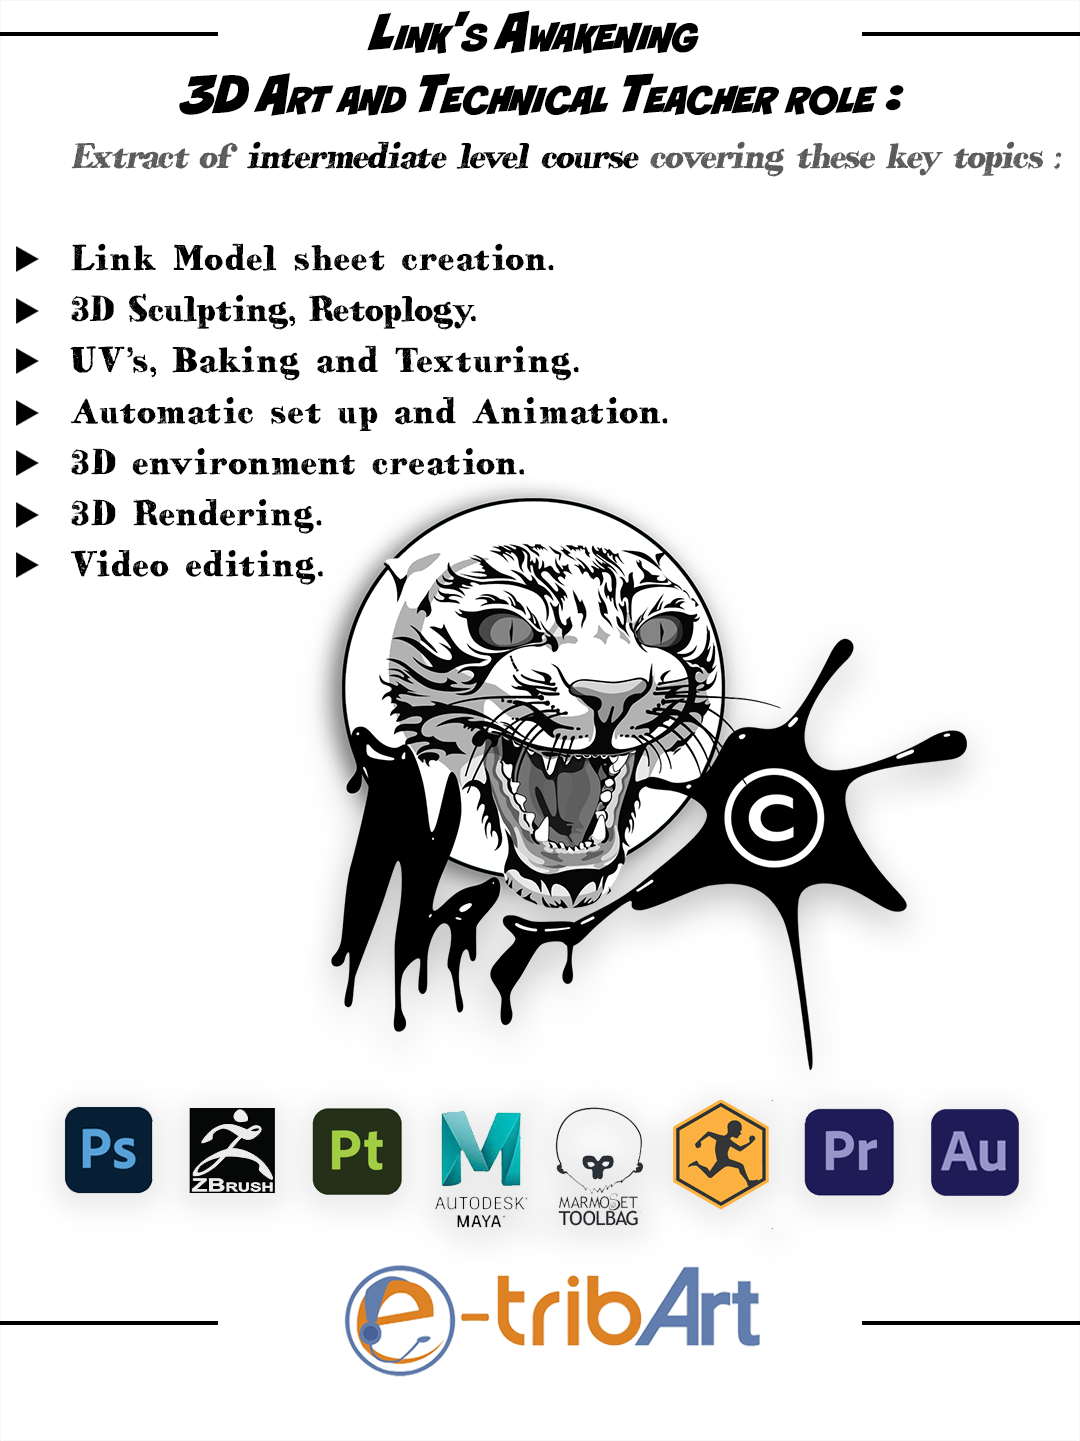
I sculpted this version of Link from Link's Awakening in ZBrush, using a collectible as my reference. As an art and 3D teacher, I create numerous tutorials and courses, and this is one example. I always choose subjects or characters that I think will engage my students, as I believe it's important for them to enjoy the learning process in my classes. I chose Link because he has a simple overall shape while also allowing for a mix of organic sculpting and hard surface modeling, making it an excellent way to introduce ZModeler techniques. During classes, I clearly explain and demonstrate the following key steps in the 3D character creation process using a video projector: model sheet creation, sculpting, retopology, UV unwrapping, texturing, setup, and animation (for simplicity, I used Mixamo) as well as 3D rendering.